I had this idea over a year ago: square 3D printed pieces with little mirrors embedded in them, and with slits for ribbon to go through, printed on tulle. I made the model and attempted the print, but the issue I ran into with my old CR6-SE printer was that while embedding the mirrors into the holes after pausing the print, the bed would move slightly, because it’s not fixed in place, and this would then result in resumed print not correctly aligned. I guess it was an unavoidable downside of a bed slinger printer, where bed moves in Y-axis or back and forth, toolhead moves in X-axis or left and right, and goes up and down along gantry or Z-axis.
Well, my new printer, Qidi Plus4, is a coreXY , which means that the bed moves up and down along Z-axis, and toolhead moves in both X and Y-axis guided by two belts. Thanks to the bed being fixed in X and Y-axis, the problem of misaligned layers after pausing and embedding objects into the print is eliminated. This allowed me to succeed at first attempt… and I would have, if it wasn’t for the pesky change filament command, which stops the toolhead and keeps squirting filament on top of a print >.< To elaborate: where in Cura the pause at height command was added via the menu and parameters such as layer height and number of seconds to pause were manually entered into the corresponding fields, in Bambu Studio and Prusa slicer, this is accomplished in the print preview tab by setting the preview slider for layers on vertical bar on the right side of viewport at the desired layer, then right clicking on this slider to get the drop down menu which offers adding pause, adding custom gcode, jumping to layer, and, if there is more than one filament defined in the project, an option to change filament. I realized that for my needs, simply adding pause works really well, but I thought that if I were to switch from silk PLA to, say, a matte PLA, I would want to tell the printer about this change, so that correct settings could be implemented for layers printed with different filament. Except – it seems to not work the way I imagined it would. I have a feeling that this is something that will have to be working with Qidi Box and that with this box the printer will know how to switch to a different filament, but without AMS attached to the printer, the change filament command seems to destroy the print by shitting the filament on it. I made this mistake of using change filament instead of add pause command one more time, and now I really know better.
Anyway, this really wasn’t that significant, but in lieu of previous post, I am describing the issues I run into during this switch to a completely different printer with an intention to offer helpful info to someone going through similar situation, or anyone curious about the printing process itself.
Unfortunately, the only work in progress pictures are these two (oh, is that why this post is filled up with text?!):

Using magnets to keep fabric in place is convenient, but they have to be positioned out of the toolhead’s path, otherwise they will get moved around and fail to do their job. That’s why I used tape to affix tulle onto the plate in the rear. The tulle I used came on 6″ wide spools, so I couldn’t make much bigger print even if I wanted to, but since then I got two full 10 yard bolts of 56″ wide tulle, black and tan, which should work well enough for being sewn onto dark and light fabric.
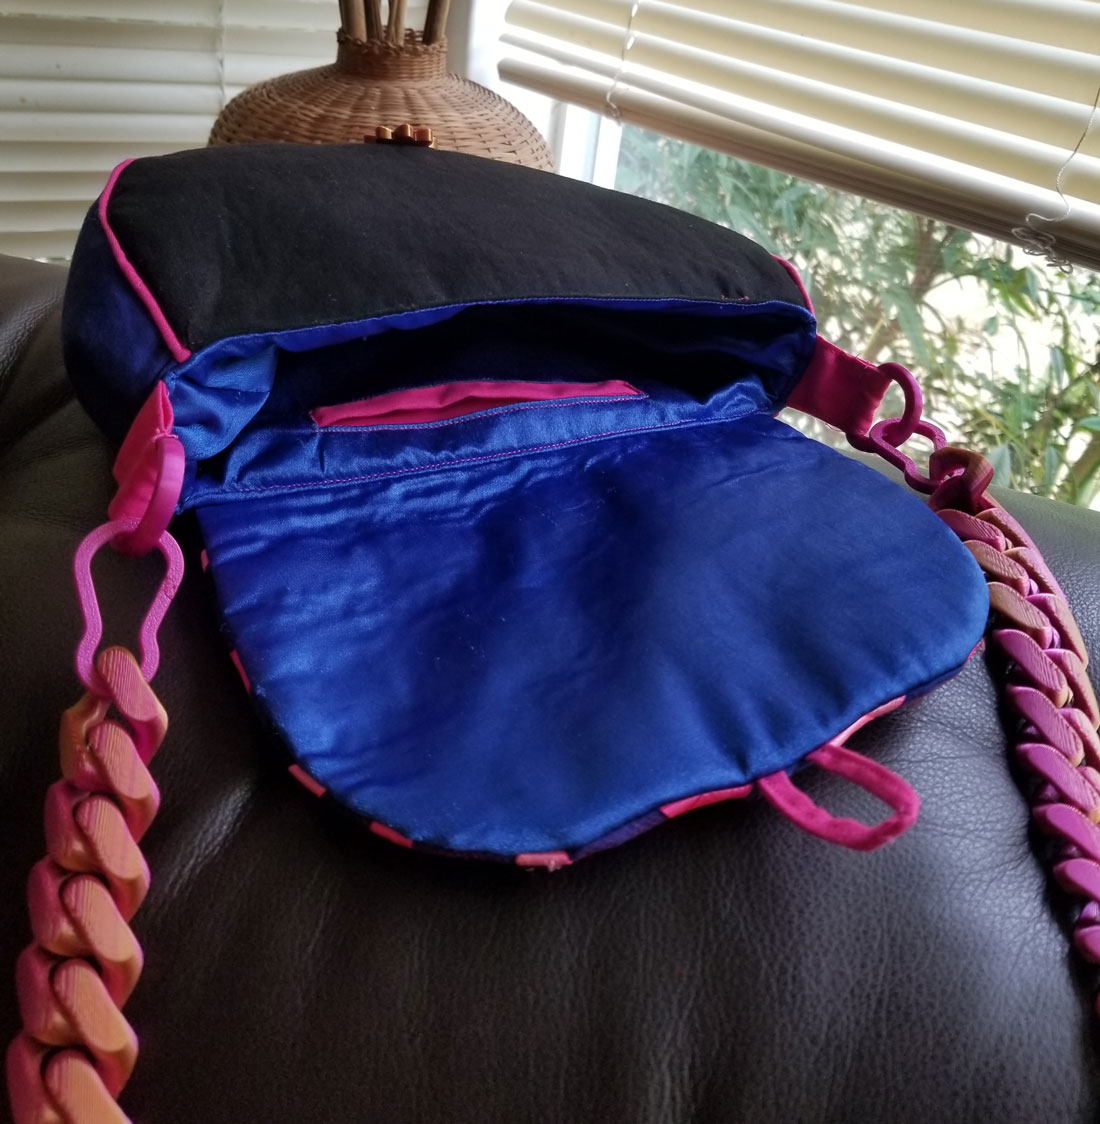
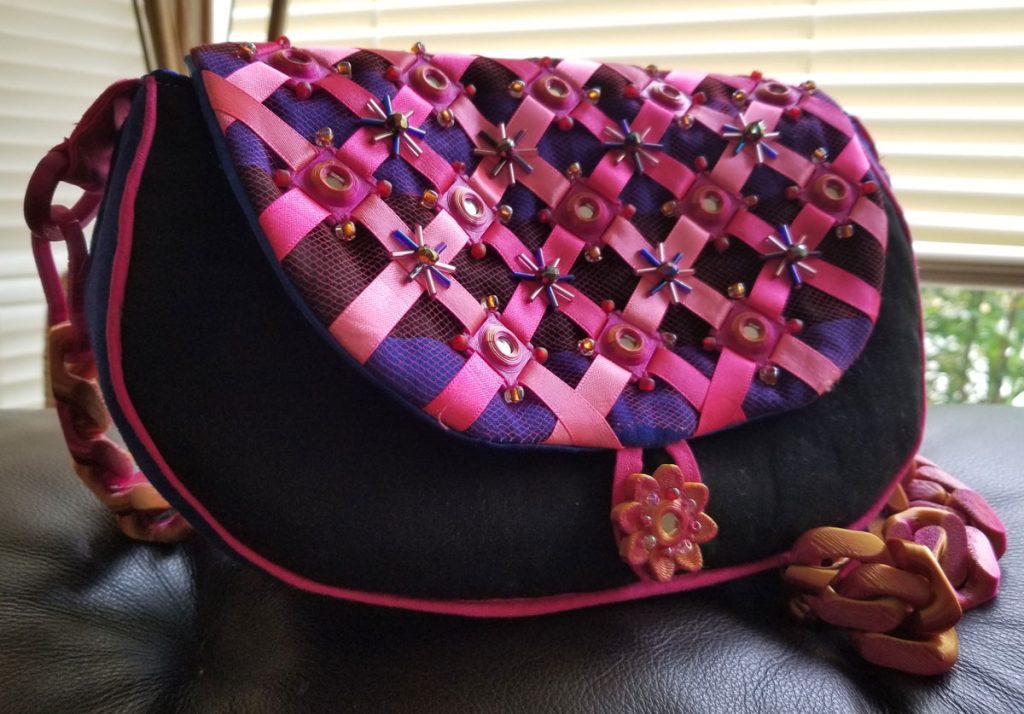
After the print was done, I used a blade to cut the tulle inside the slits in 3D printed squares, and took pink and magenta ribbons and ran them through the slits, so that they went under the 3D print. Then, I had to finalize the pattern for the bag, and I originally thought of making just a zippered pouch, but got inspired to do something more elaborate – a purse with a strap. The decorated flap was originally continuous with the back part, but after I thought through the sewing process I realized that this bag will have to be made just like the backpacks, where flap is made separately and added to the bag during final assembling of main body of the bag and the lining. The bag shape changed as a result of reworking the pattern, so that the front and back piece were now wider on the bottom. I was happy with this look, so I went to work. First, I took the print with ribbons and sewn it onto the flap that was made in black and blue strips. I used embroidery floss and by hand stitched in beads at every concave corner of the printed squares, as well as the intersections of the ribbons.
I wanted to give piping a try for the first time with this bag, to learn something new and have a nice accent along the seams. I was tempted to use TPU filament for it, but considered it a bit too thin, choosing a jute twine instead. I had to switch to a presser foot for zippers on my sewing machine to be able to make stitches right next to the twine as I stitched it inside of a magenta fabric strip. The zipper foot was needed when piecing the purse together as well. It was difficult to get the piping to not stick out too much, since it’s sewn in during piecing and therefore not visible while sewing. I’m still not too happy with it, but for the first attempt it’s decent enough. Perhaps the key to making a good looking piping is to use a rather thick cord so that it can be felt easily through layers of fabric and batting during piecing.
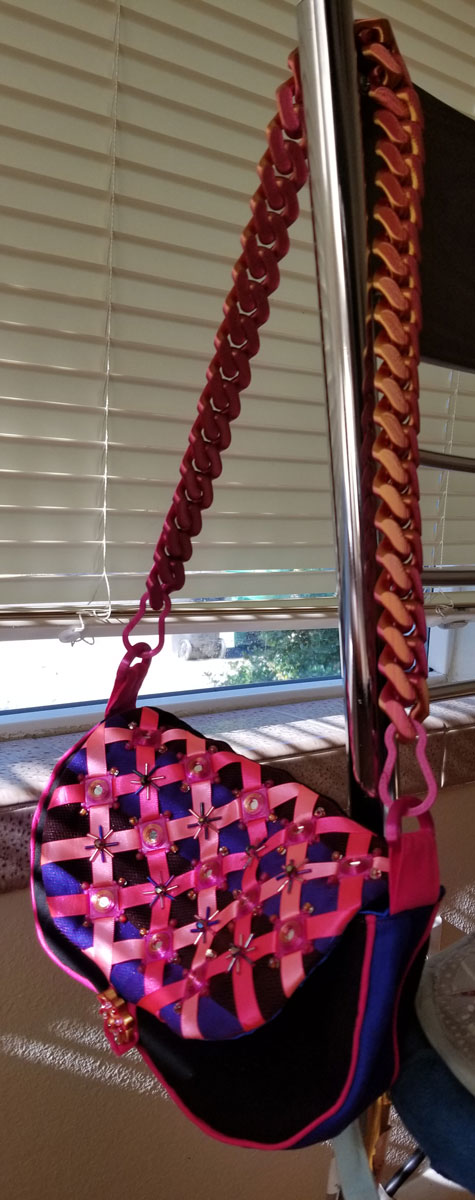
For the strap, I wanted something entirely 3D printed, so I found this cool looking Cuban chain on MakerWorld, removed the geometry for closure and just printed the chain. I also found a good model of a carabiner, and I made a model for the half-loop that will go inside the strips sewn on both sides of the bag. I also 3D printed a button with 8 holes and a mirror in the middle, and stitched it on so that there’s a bead on top of each hole. Here’s how it all turned out: